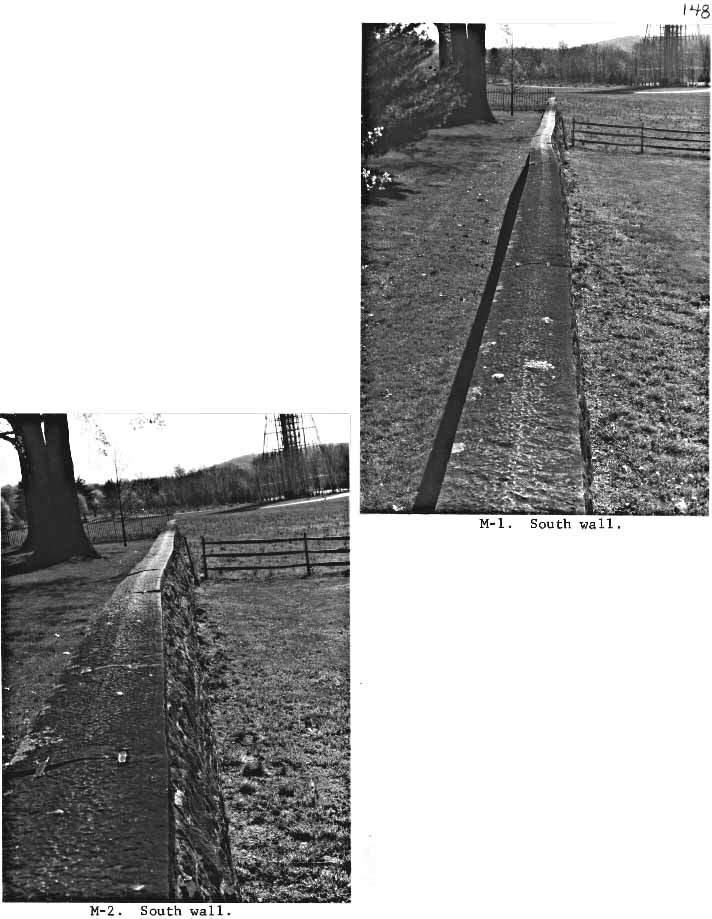
M-1. Shot from top of south wall, showing bulging and weaving of wall, in danger of imminent collapse. The interior wall is virtually concave and the exterior convex, with the heavy granite coping stones precipitously weighing down upon the weakening structure.
M-2. Detail of M-1. showing the pronounced convex bulging of the outer
south wall, and the meandering of the coping stones as they lose internal
support.
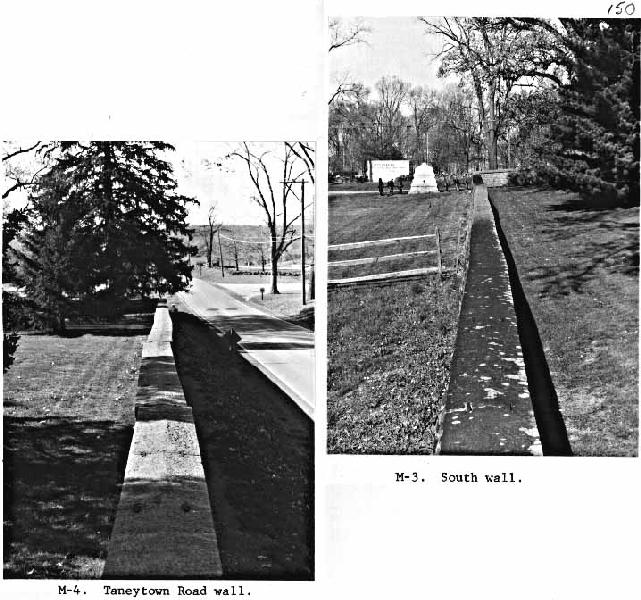
M-3. View looking westward, the opposite direction of M-1, showing the same condition.
M-4. View from the top of the Taneytown Road section of wall, just south of the gate. Shows the same kind of bulging and broken line of the coping stones, indicating the shifting of the wall material beneath.
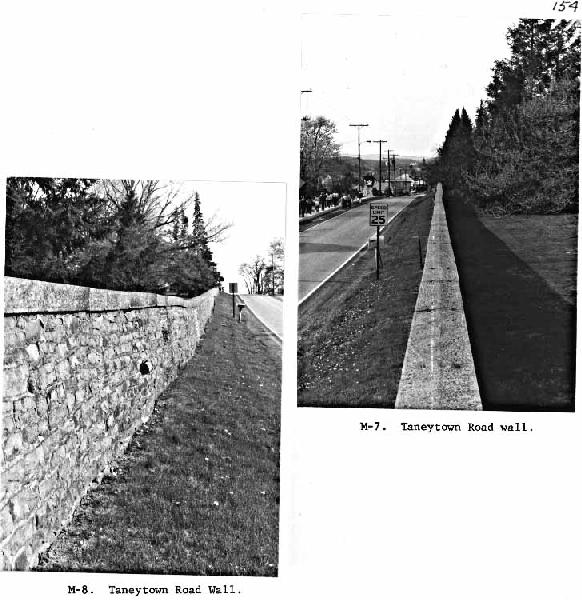
M-8. View southward toward Taneytown Road entranceway along exterior of wall, showing bulging and sinking. (This sinking showed up in the late 1860s series of stereo views also, View C-11. It seems to be more indicative of the contours of the cemetery than any serious problem.)
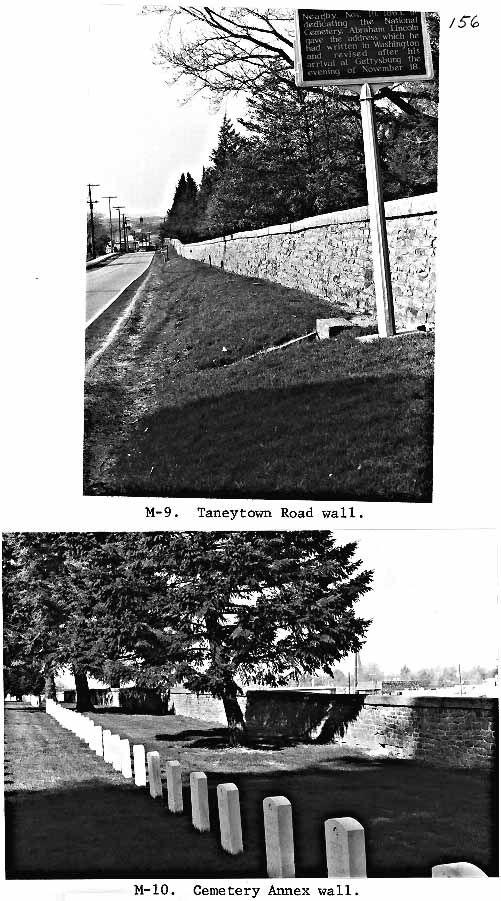
M-9. View northward along outside of Taneytown Road wall from entranceway, showing bulging and sinking of coping stones.
M-10. View along Cemetery Annex portion of wall westward, showing absence
of spot pointing, sinking, and some bulging.
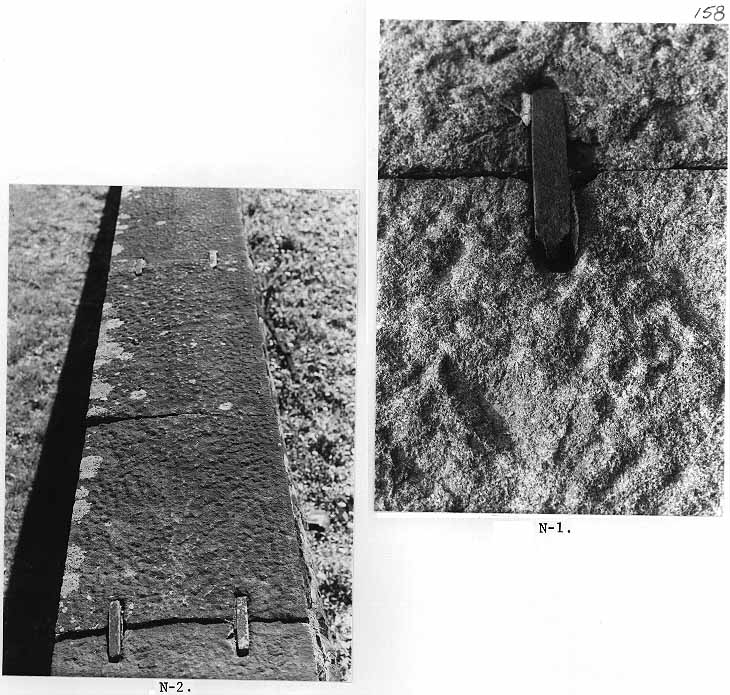
N-2. Shows the cramps in place in a normal coping stone, although this whole coping stone cracked as a result of the bulging of the wall beneath (south wall). The cramps, in this case, held fast and caused the coping to crack when they failed to give way under the pressure.
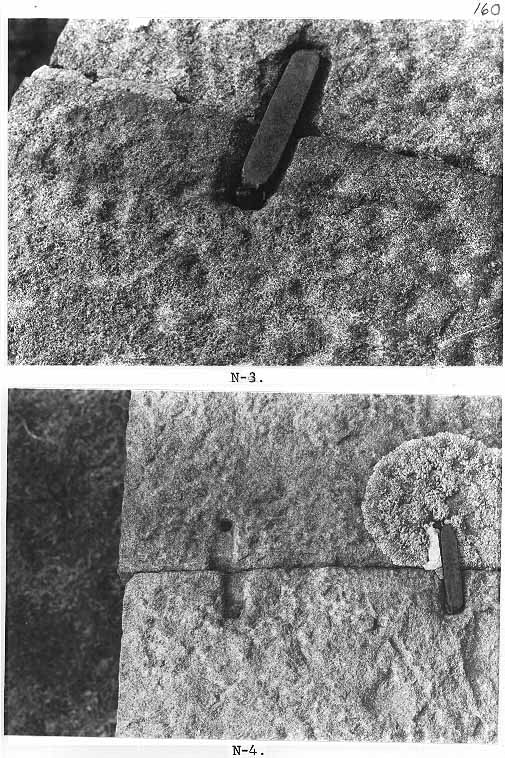
N-3. Detail of a typical cramp, rusting through where the legs join the body.
N-4. Detail of a slightly shifted joint between two coping stones. One cramp broken and missing, the other affixed and cemented to assure it stays in place.
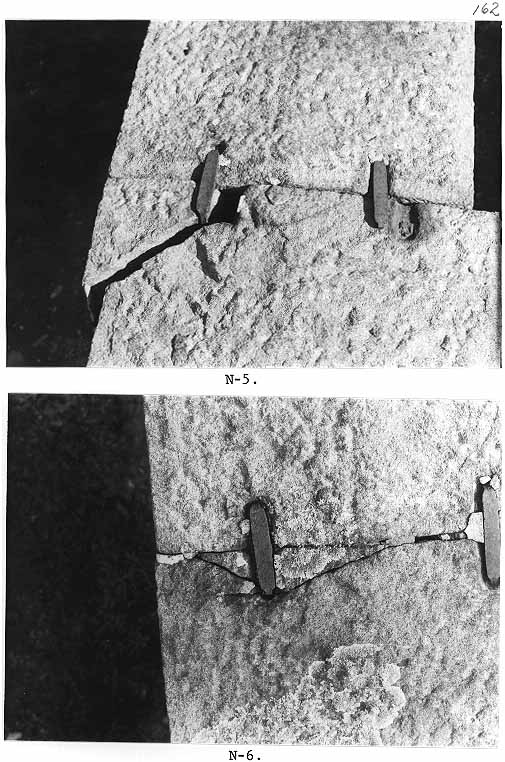
N-6. Shows cracked coping at the cramps due to pressures of shifting wall, as well as attempts to seal and delay the ultimate result by applying portland cement.
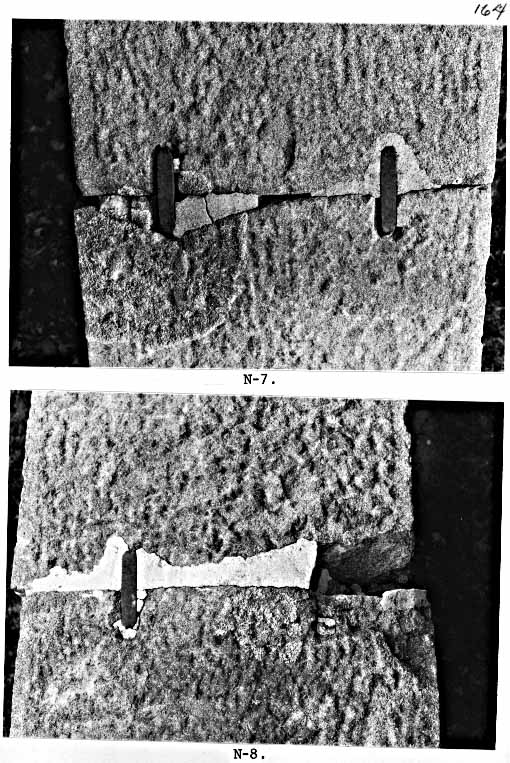
N-7. Same as N-6, but the coping has broken away and been replaced by
cement.
N-8. Same.
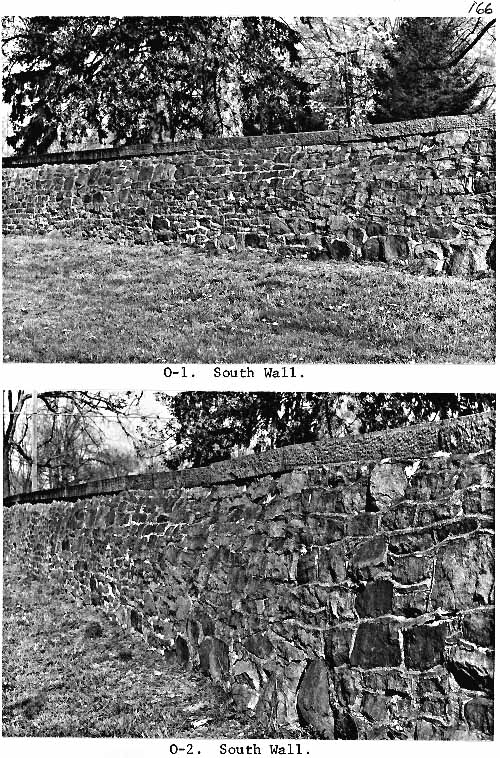
O-2. Close-up of O-1.
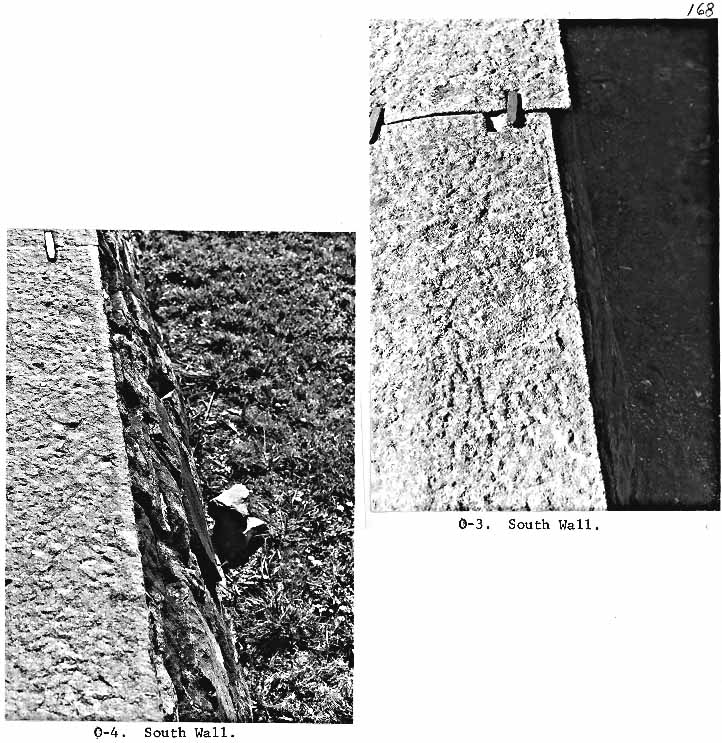
O-4. Shot of bulging south wall from atop the coping, as well as fragmentation of granite elements due to inadequate pointing and pressure of the displacing walls.
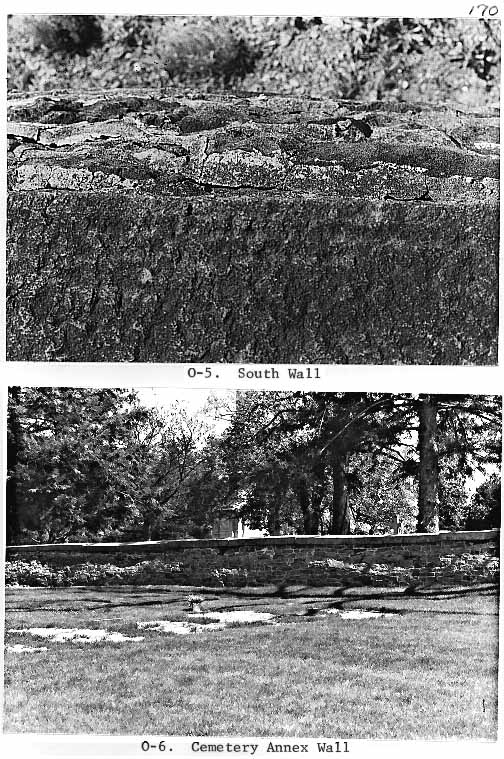
O-5. Vertical shot of south wall towards ground from atop coping. Although
the surface should appear linear, and no rock showing, the extent of the
bulge is obvious.
O-6. View showing bulging of exterior Cemetery Annex wall.
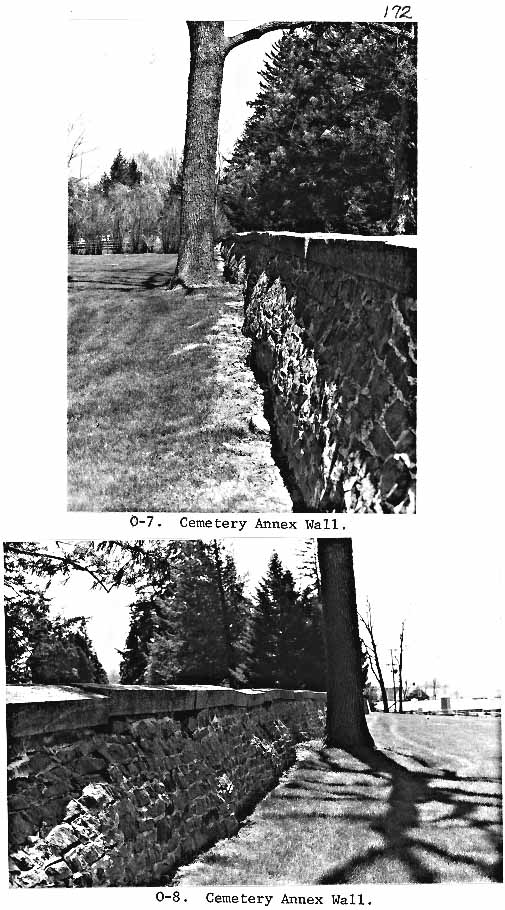
O-7. View northeastward along Cemetery Annex wall, showing extensive bulging of exterior wall and loss of support to coping.
O-8. View southwestward showing same area.
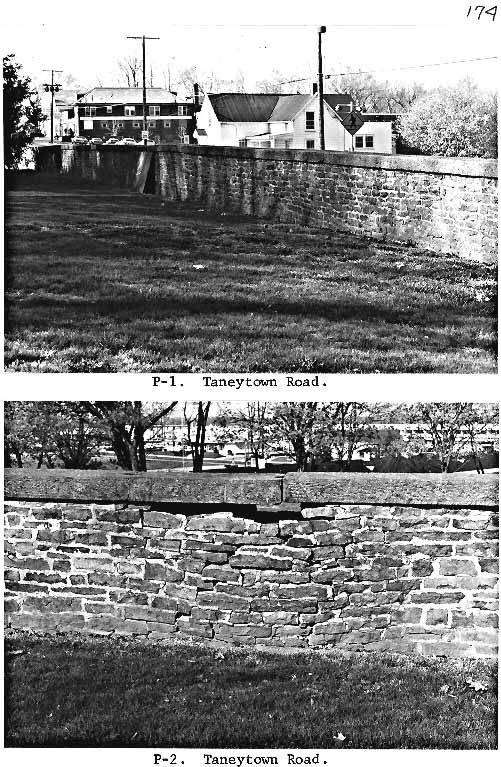
P-1. View showing collapsing Taneytown Road wall, covered by plywood
to discourage visitors from approaching the hazardous area.
P-2. Collapsing wall beneath strained coping along Taneytown Road.
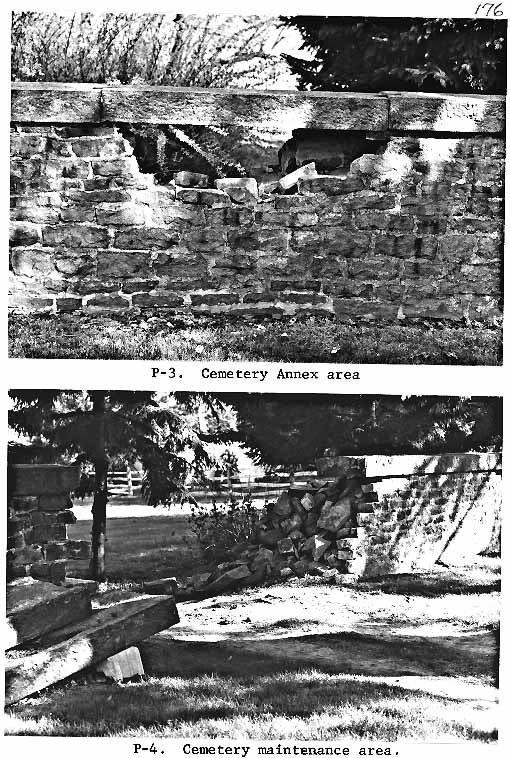
P-3. Collapsing wall beneath strained coping near maintenance area and Cemetery Annex.
P-4. Collapsed section of wall near cemetery maintenance.
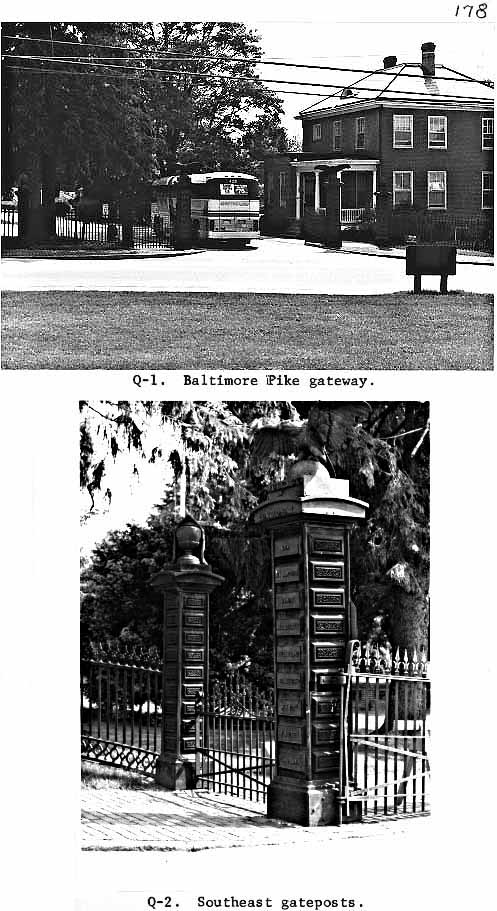
Q-1. Baltimore Pike gateway.
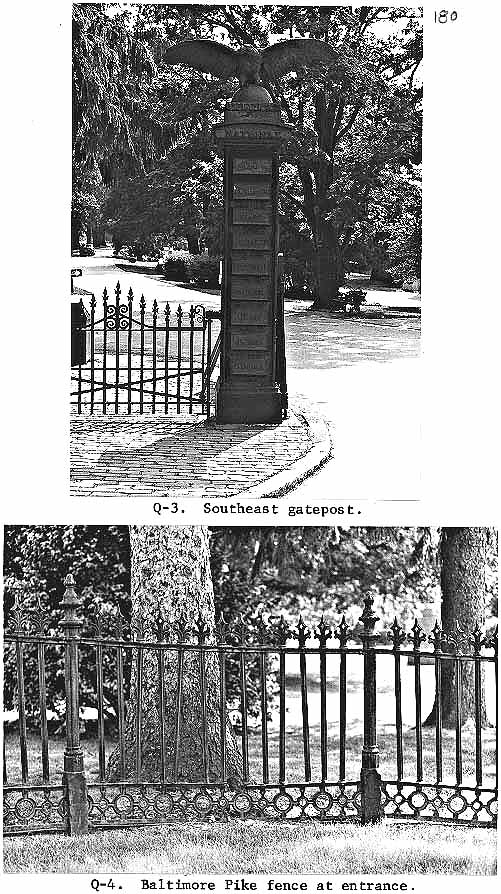
Q-4. Baltimore Pike fence at entrance.
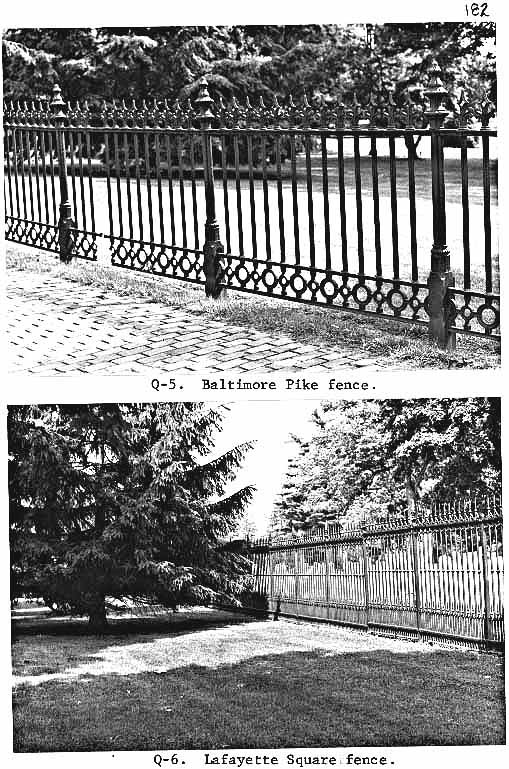
Q-6. Lafayette Square fence.
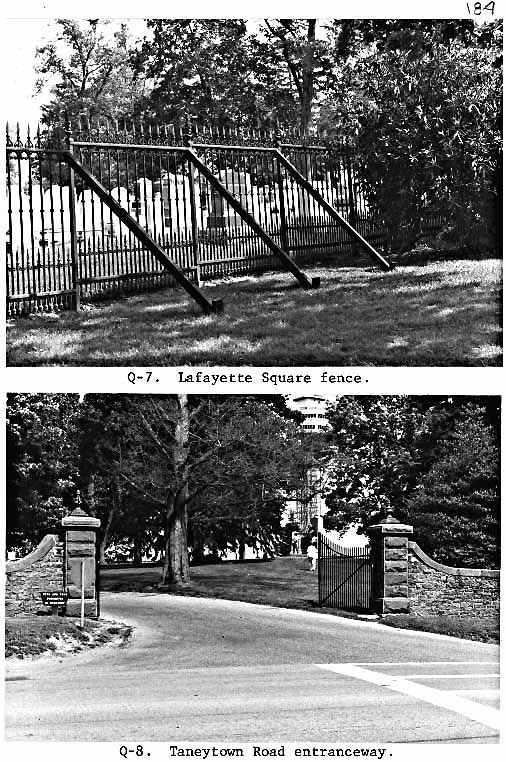
Q-8. Taneytown Road entranceway.
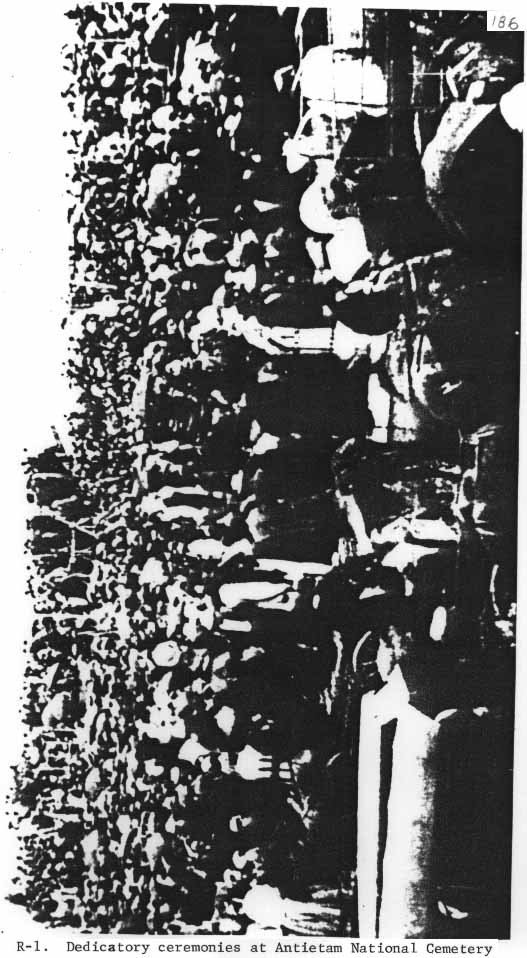
R-1. This photograph has been incorrectly identified as "Crowd at Dedication of Soldiers' National Monument, Gettysburg, July, 1869", by Bachrach. In reality, it is a view of the dedicatory ceremonies held at Antietam National Cemetery on September 17, 1867.
The iron fencing is in no way similar to any fencing ever enclosing the Soldiers' National or Evergreen Cemetery at Gettysburg. (Also see R-2 following)

R-2. Engraving in Frank Leslie's Illustrated Famous Leaders & Battle Scenes of the Civil War (New York, 1896), p. 524. Identified as taken from a photograph by D. Bachrach of Baltimore, Maryland, and readily recognizable, in this segment, as the same view as R-1 (purported "Gettysburg" photo).
The same iron picket fencing set an the limestone wall and the same gates and gateposts exist today at Antietam National Cemetery.
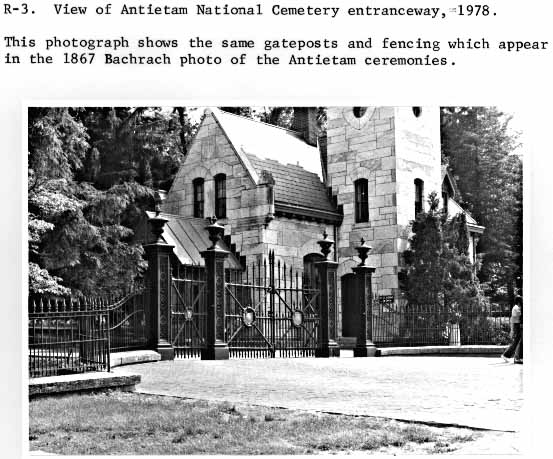
This photograph shows the same gateposts and fencing which appear in the 1867 Bachrach photo of the Antietam ceremonies.